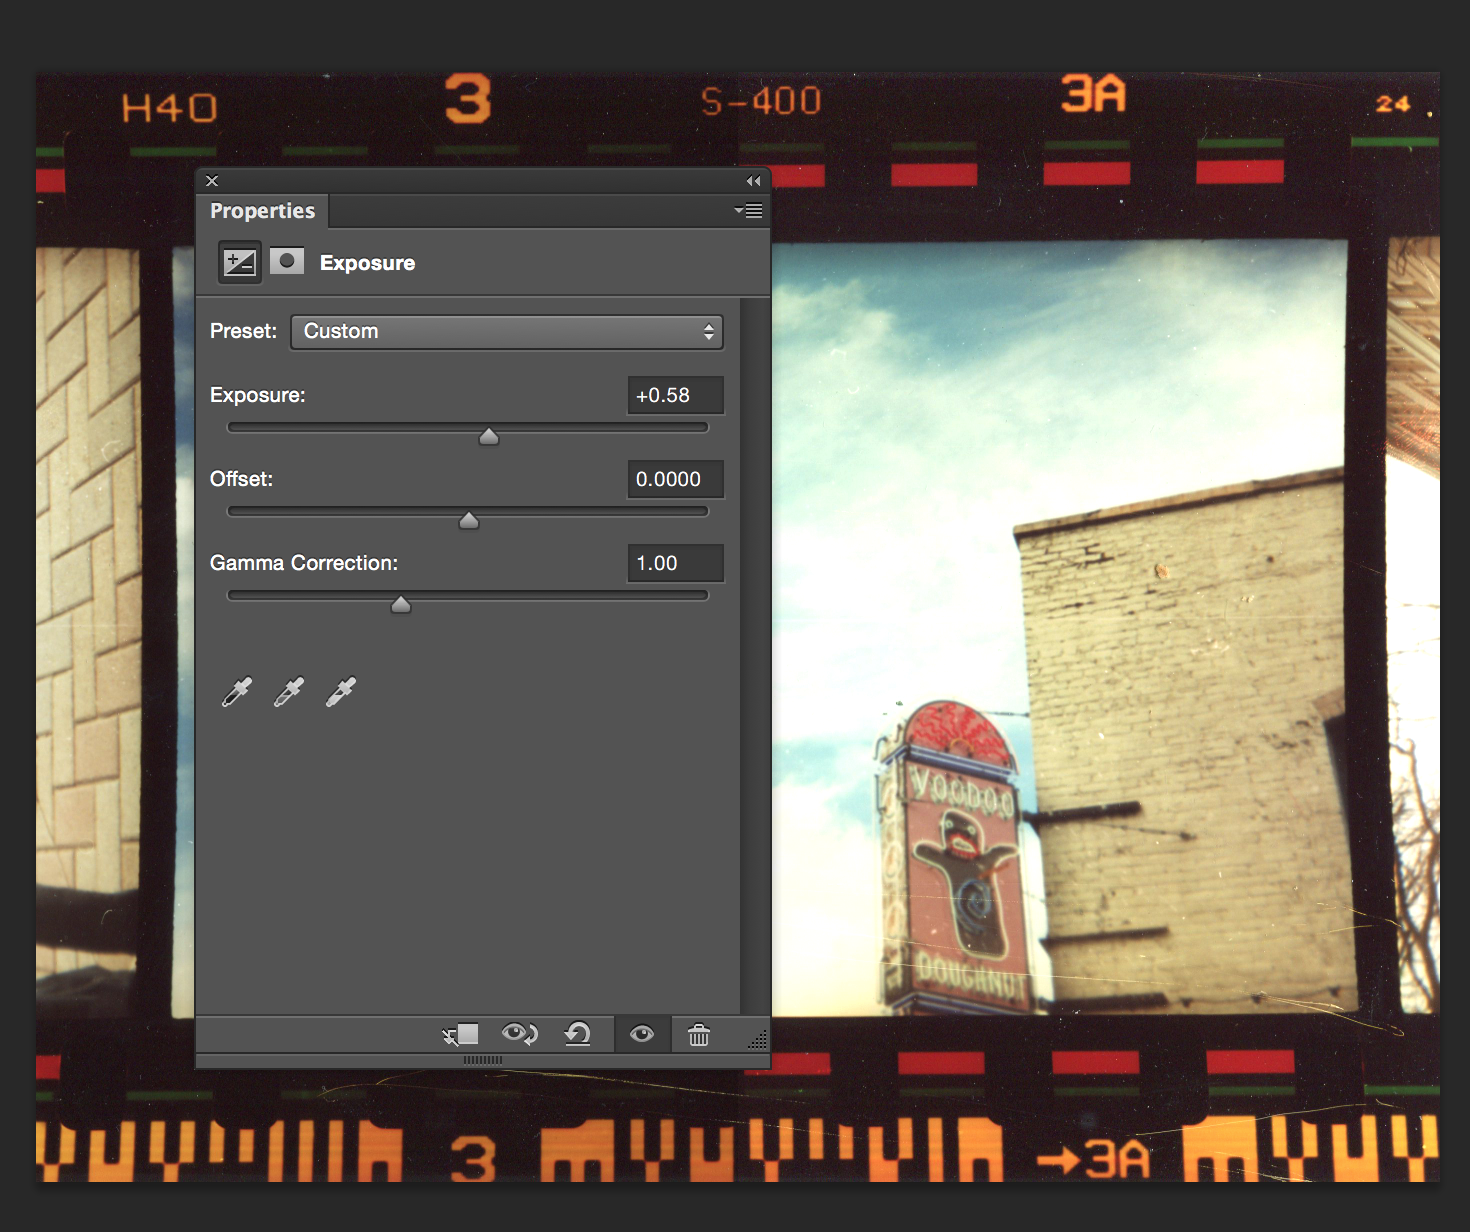
How to change the exposure of an image:
I have already somewhat gone over how to use the curves and levels tools in the contrast tutorial. So this tutorial will solely focus on the Exposure Adjustment Tool. This tool will let you easily change the exposure with a slider.
1. First open the image you want to work with in Photoshop.
2. Then select Exposure from the Adjustment Layer Panel. It looks like a black and white box with a plus and minus sign in it.
3. When you click this, a new window will come up. As I said before, the exposure can be adjusted by moving the slider. Moving it left will make the image darker and moving the sider right will make the image brighter.
4. The sliders for Offset and Gamma Correction are a bit trickier to explain. They are anther way to change the contrast and well as the lightness and darkness of the image. Similar to some of the other tools I have mentioned, I’ve found these settings just need to be played with depending on the picture you are using.
Here is my final result after playing with the Exposure, Offset and Gamma Correction sliders.

Step 1:
Step 2:
Final:

Step 2:

Final:
