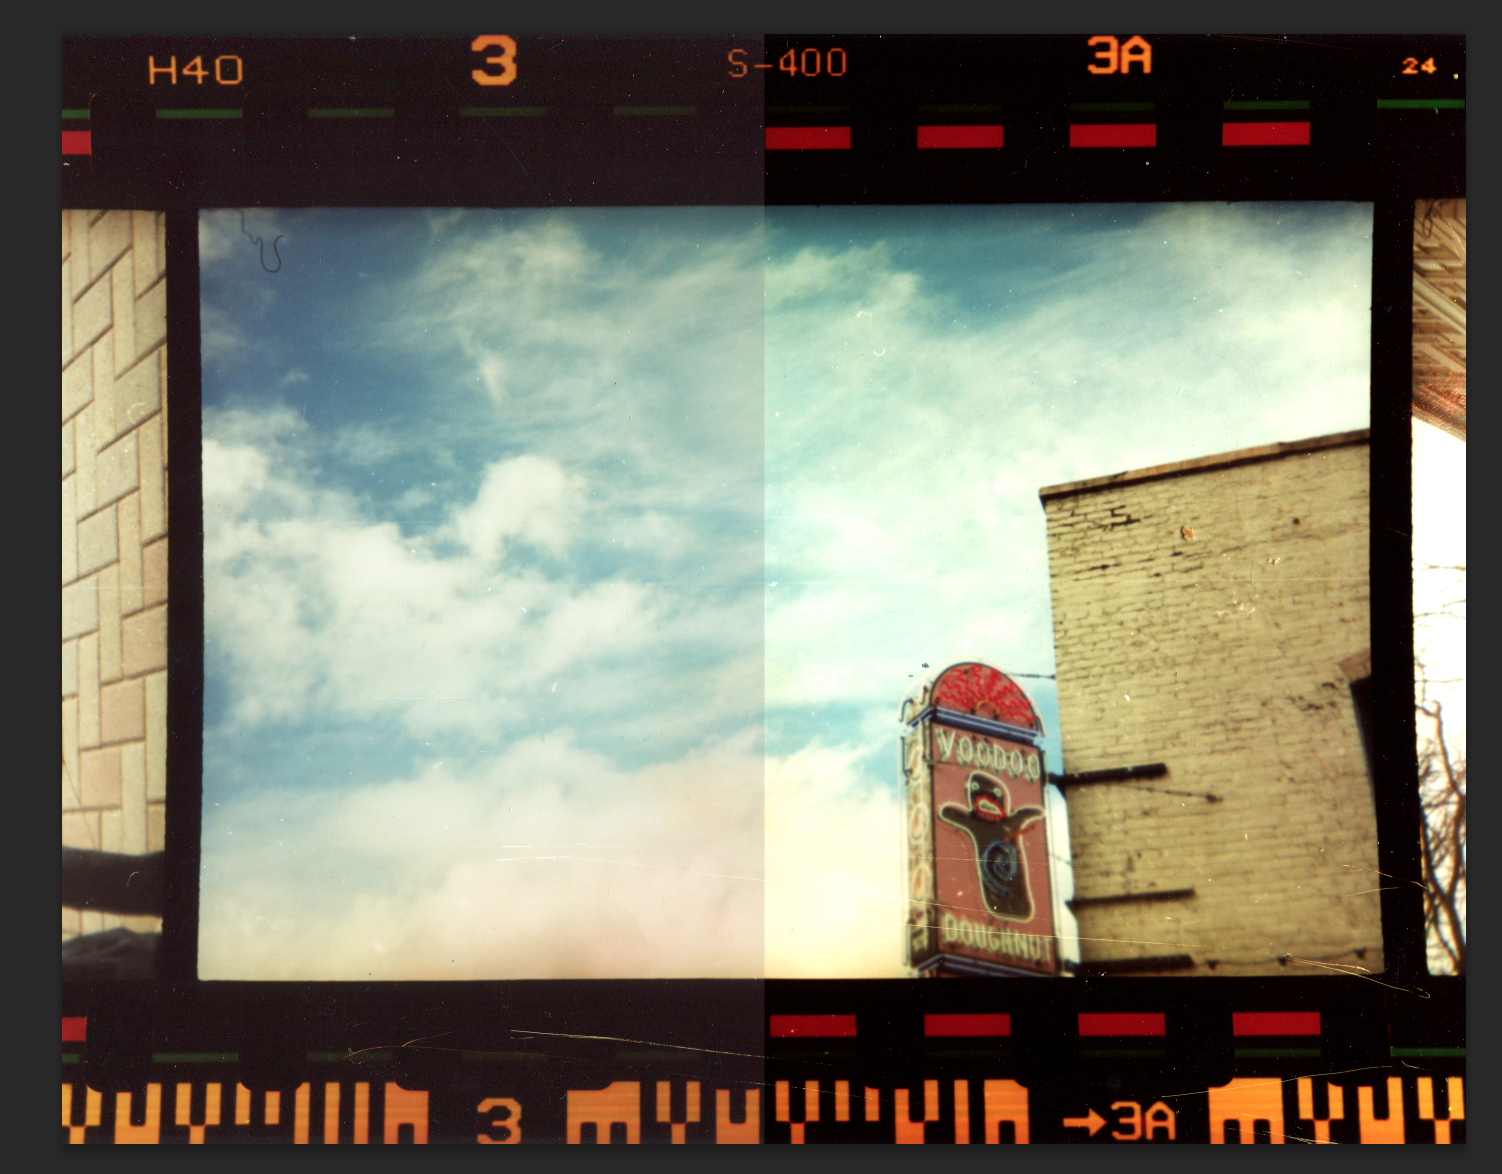
How to add contrast to a picture:
The most straightforward way to add contrast to a picture is to use the Brightness/Contrast adjustment tool, but the Levels and Curves tools can also be used. Levels and Curves will give you more control over the contrast in the highlights, midtones, and shadows of your picture.
Brightness/Contrast Tool:
1. First open your image in Photoshop
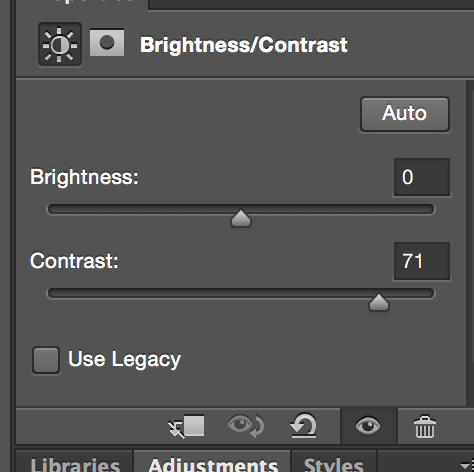
2. Then click the Brightness/Contrast tool from the Adjustments toolbox.
3. A window will open up with two sliders, one for brightness and one for contrast.
4. Sliding left (towards negative numbers) on the contrast bar will decrease contrast, and sliding right (positive numbers) will increase contrast.
Here is my final result with added contrast.

Levels:
1. First open your image in Photoshop
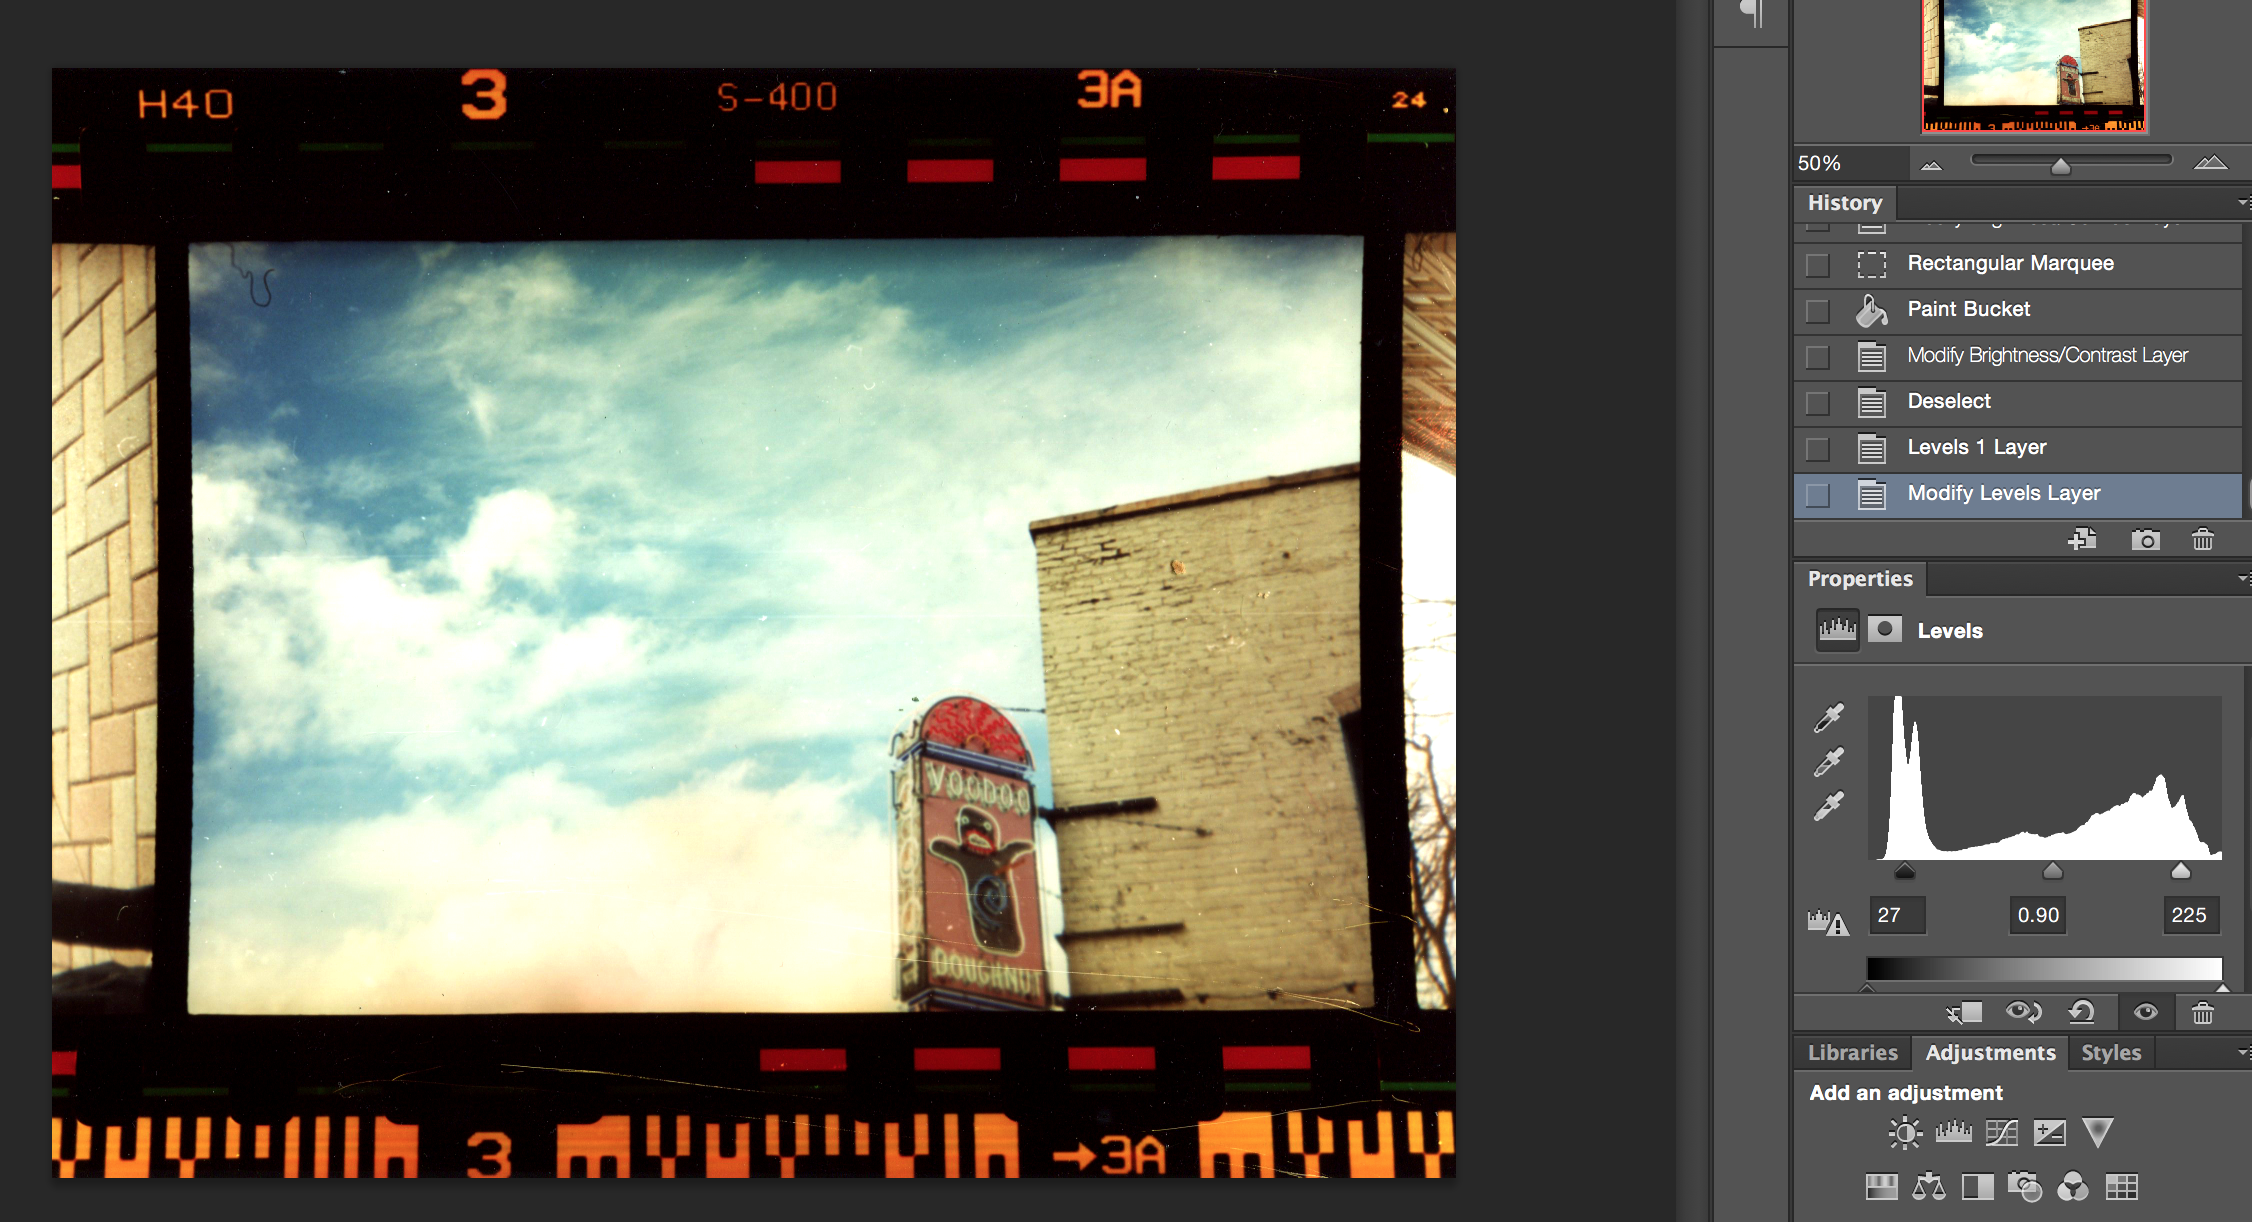
2. Then click the Levels tool from the Adjustments toolbox
3. This will bring up a window of a histogram with three sliders underneath. The black one is for shadows, the grey one is for midtones, and the white one is for highlights.
4. Moving the grey slider only will affect the over all contrast just like the Brightness/Contrast Adjustment tool.
5. Moving the black or white slider will automatically affect the grey slider. If the black slider is moved to the right, the image will be darker and more contrast will be added to the shadows. If the white slider is moved to the left, the image will become brighter and more contrast will be added to the highlights.
6. Generally, when using this tool, I will adjust the black and/or white sliders first and then make micro adjustments to the contrast using the grey slider second.
Here is my final result
Curves:
1. First open your image in Photoshop
2. Then click the curves tool from the Adjustments toolbox
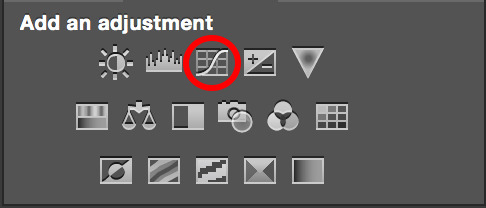
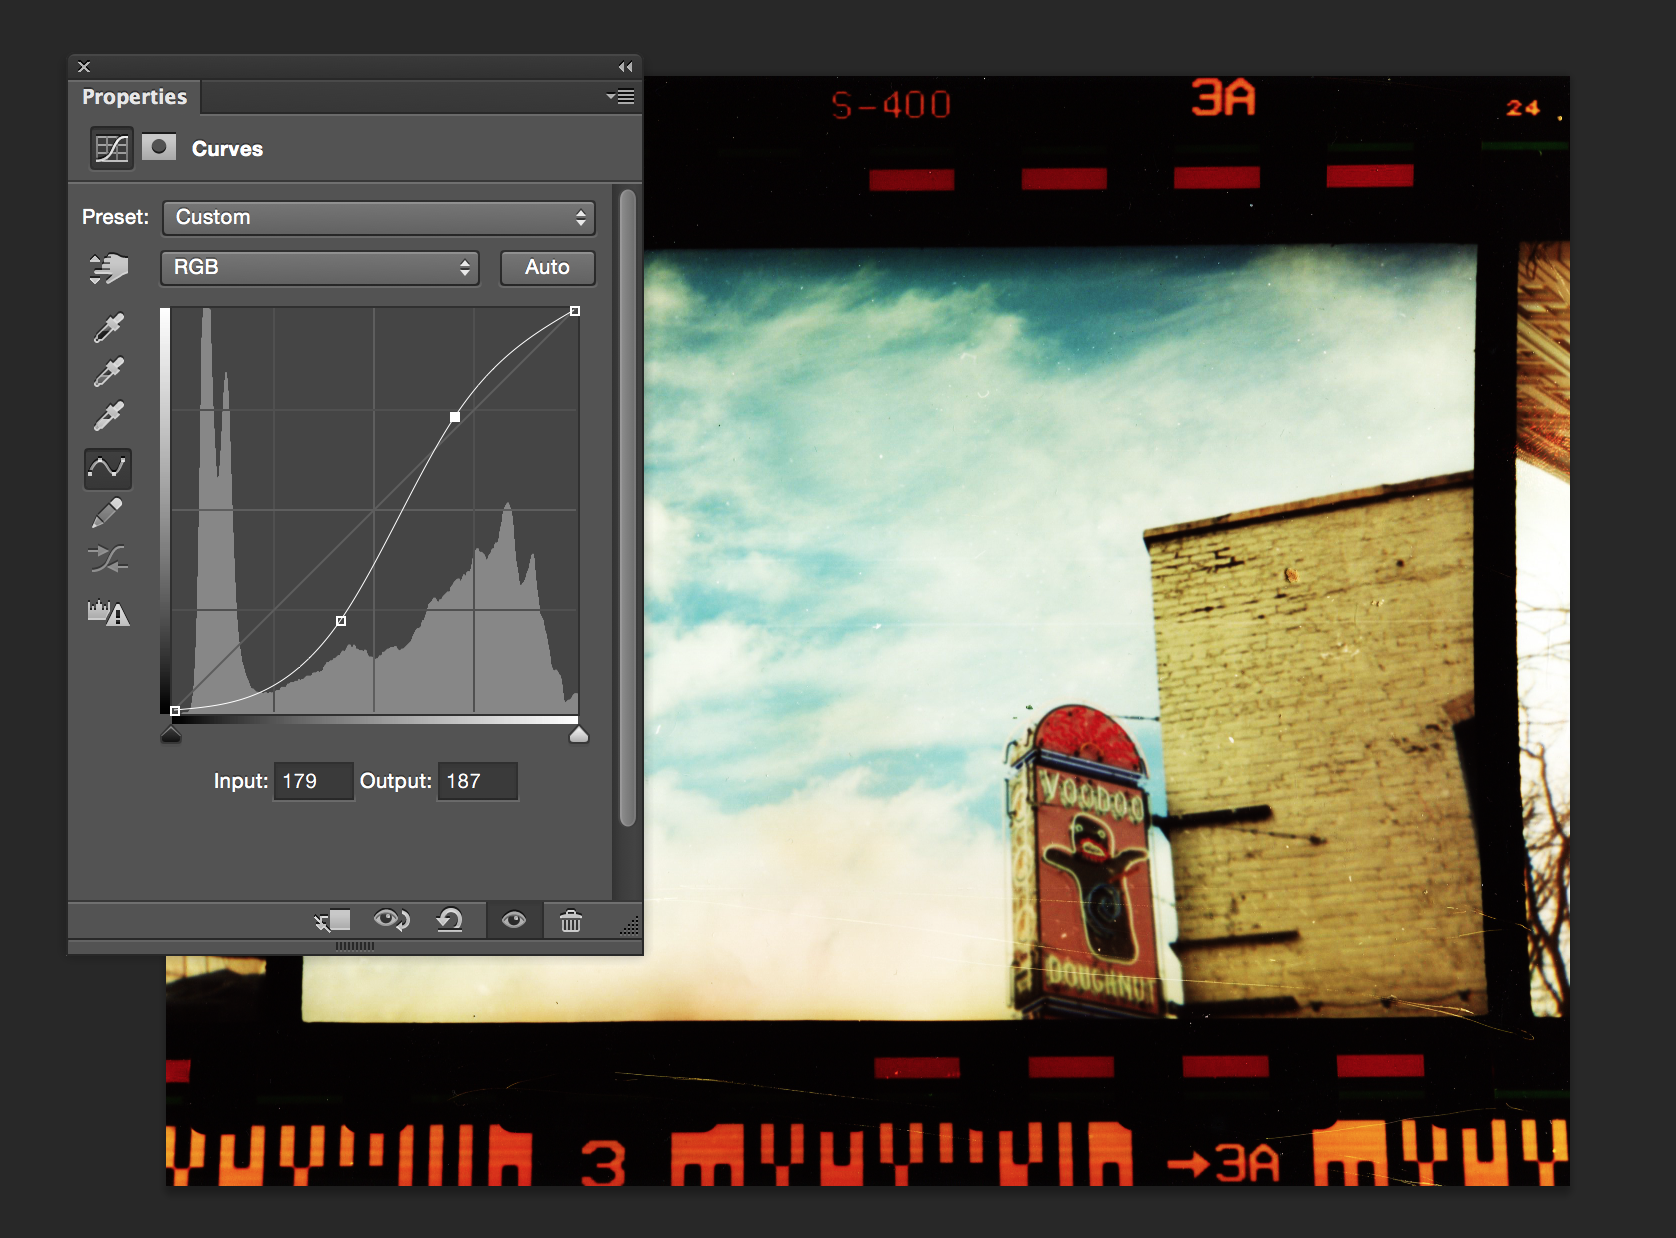
3. This will bring up a box with a histogram and a diagonal line through it. The line can be manipulated to make the image lighter, darker, more or less contrasted or even give a solarized look to the picture.
4. To make the image more or less contrasted you can move the black slider to the left and the white slider to the right, similar to how you would use the levels tool.
5. However, more often than not I use the curves tool to make an S-curve. Once you make the S-curve it can be more or less dramatic to enhance the contrast, make the shadows darker, and make the highlights brighter. 6. This tool takes some playing with and your curve will generally look different for each picture. There isn’t a formula for the perfect curve. Its just one of those tools that has to be played with.
Here is my final result:

Brightness/Contrast Tool:
Step 1:

Step 2:
Shadow:

Highlights:

Final:

Levels:
Step 1:
Step 2:

Final:

Curves:
Step 1 :

Shadow:

Highlights:

S-Curve:
Final:
