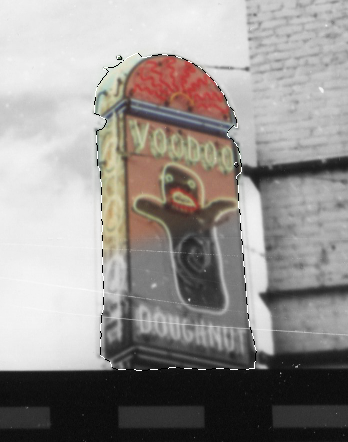
How to make one part color and the rest black and white (aka Colorization):
1. First open your photo in Photoshop.
2. Next use one of the adjustment layers to make the photo black and white. If you do not know how to do this, there is a tutorial for it here.
3. Next, make sure you have the black and white layer selected, and click the white box next to it. If you ever need to create a mask the button at the bottom of your layers panel.
4. Masks are painted in black, white and grey. Black will allow lower layers to show through. White will act as a blanket and cover the any layers below. Greys show some transparency depending on their value.
5. In this example we want to paint the part we want colorized in black so that the color can be seen from the original image.
6. Now, you can just simply paint on the mask, but it is difficult it have an accurate steady hand so I usually make a more precise selection of what I want to be colored and then use the paint bucket to fill my selection.
7. The fastest way to make a decent selection, I’ve found, is to use the Quick Selection Tool. It allows you to essentially paint a selection. You select a brush size, hardness of the brush, and then whether you would like to add or subtract from your current selection.
8. Once I have painted a decent selection, I use the refine edge tool to refine the edge of my selection. Here, you can change the background to black or white so you can see the selection better. You can also shift your selection closer or father from your original, as well as use Smart Radius to have the computer catch the smaller details.
9. Once you have a finalized selection of the item you want colorized, you want to select your mask and either paint or fill in the selection with black. Instead of seeing black painted, the image should turn from color to black and white.
Here is my final result:

Step 1:
Step 2:
Step 3:
Step 4:
Final:

Step 2:

Step 3:

Step 4:

Final:
