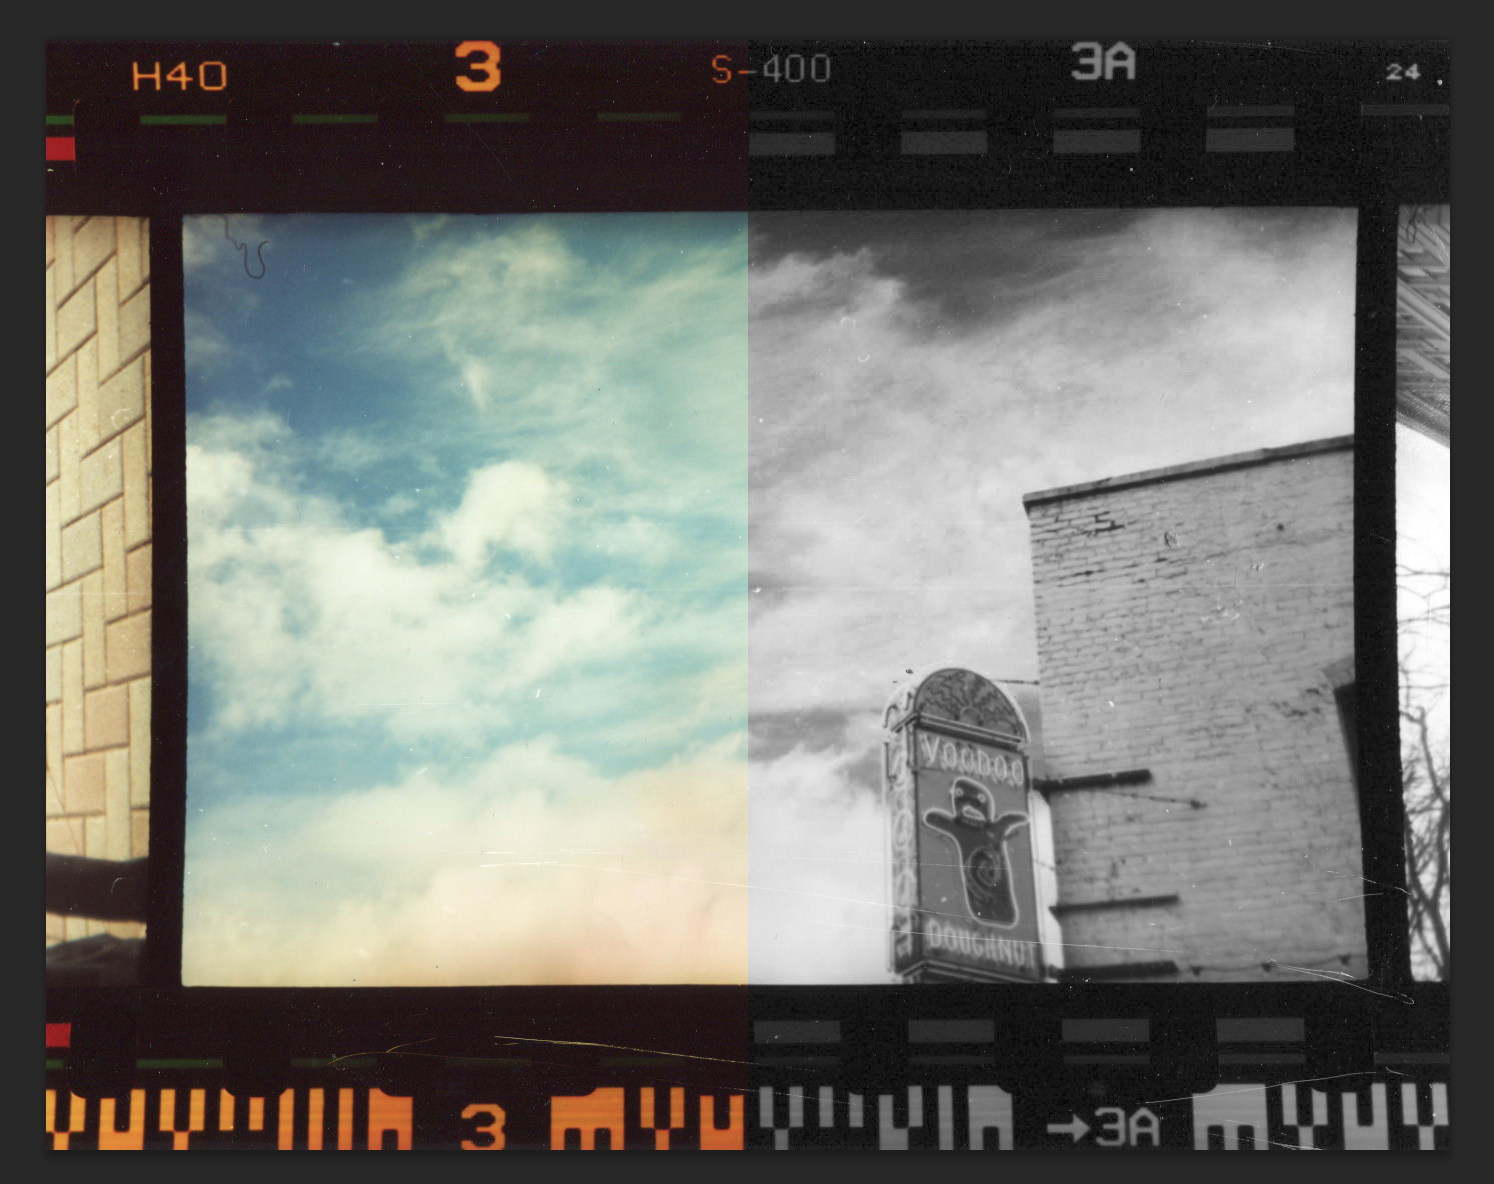
How to make a photo black and white:
There are a few ways to do this, they are all very simple, and they all involve using adjustment layers. Typically use a gradient overlay because it gives the most contrast. However, you can simply desaturation the colors, or you can use the black and white adjustment layer for the more control.
Gradient Overlay:
1. First, open the image you want to make black and white in Photoshop.
2. Next, select the gradient overlay tool from the adjustments tool bar. (if you do not have this open already go to view > adjustments. 3. When you click the gradient overlay button a new window will open asking which gradient you would like to use. Choose the white to black gradient.
4. If the image looks inverted click the reverse button.
Here is the final result. I usually use this method because it gives the image a lot of contrast. From here you and change the opacity to add some color back in or use blending modes to enhance the original.

Desaturation:
1. First, open the image you want to make black and white in Photoshop.
2. Next, select the Hue/Saturation tool from the adjustments tool bar. (if you do not have this open already go to view > adjustments.
3. This will prompt a new window asking what hue/saturation adjustments you would like to make.
4. Either drag the saturation slider all of the way to the left, or change the number from 0 to -100.
Here is the final result. It has slightly less contrast compared to the gradient overlay option. However, that could easily be fixed with a contrast filter/adjustment.
Black and White Filter:
1. First, open the image you want to make black and white in Photoshop.
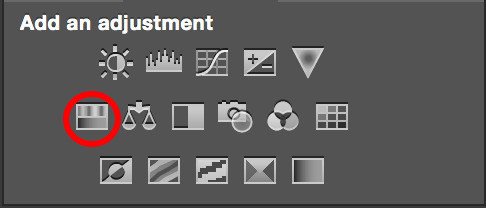
2. Next, select the Black and White tool from the adjustments tool bar. (if you do not have this open already go to view > adjustments.
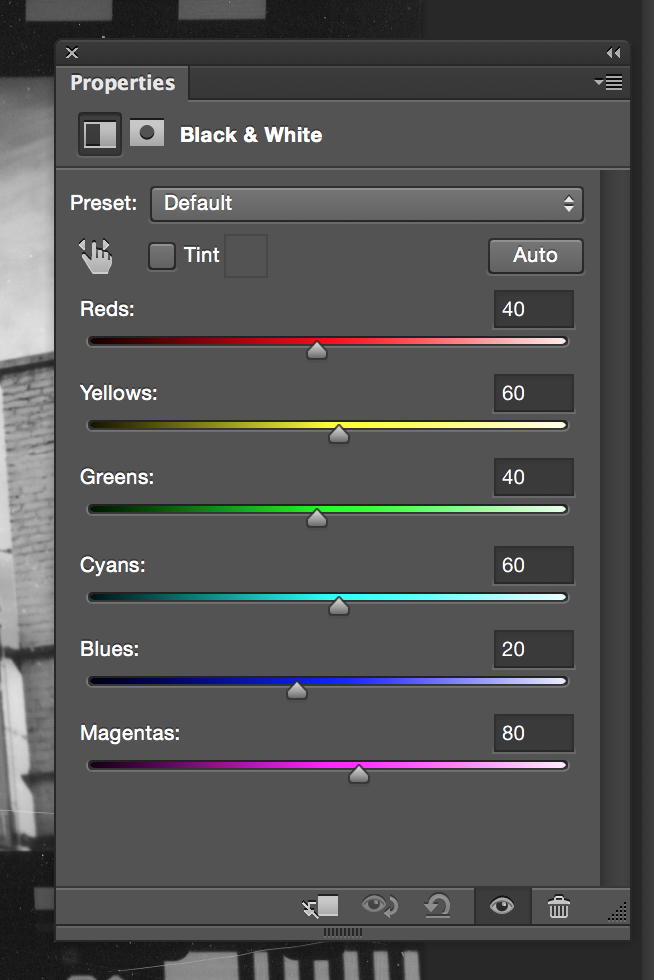
3. This will prompt a new window with various color sliders. Initially the effect will look the same as the desaturation adjustment.
4. If the sliders are moved each of the color will be made a darker or lighter value of grey.
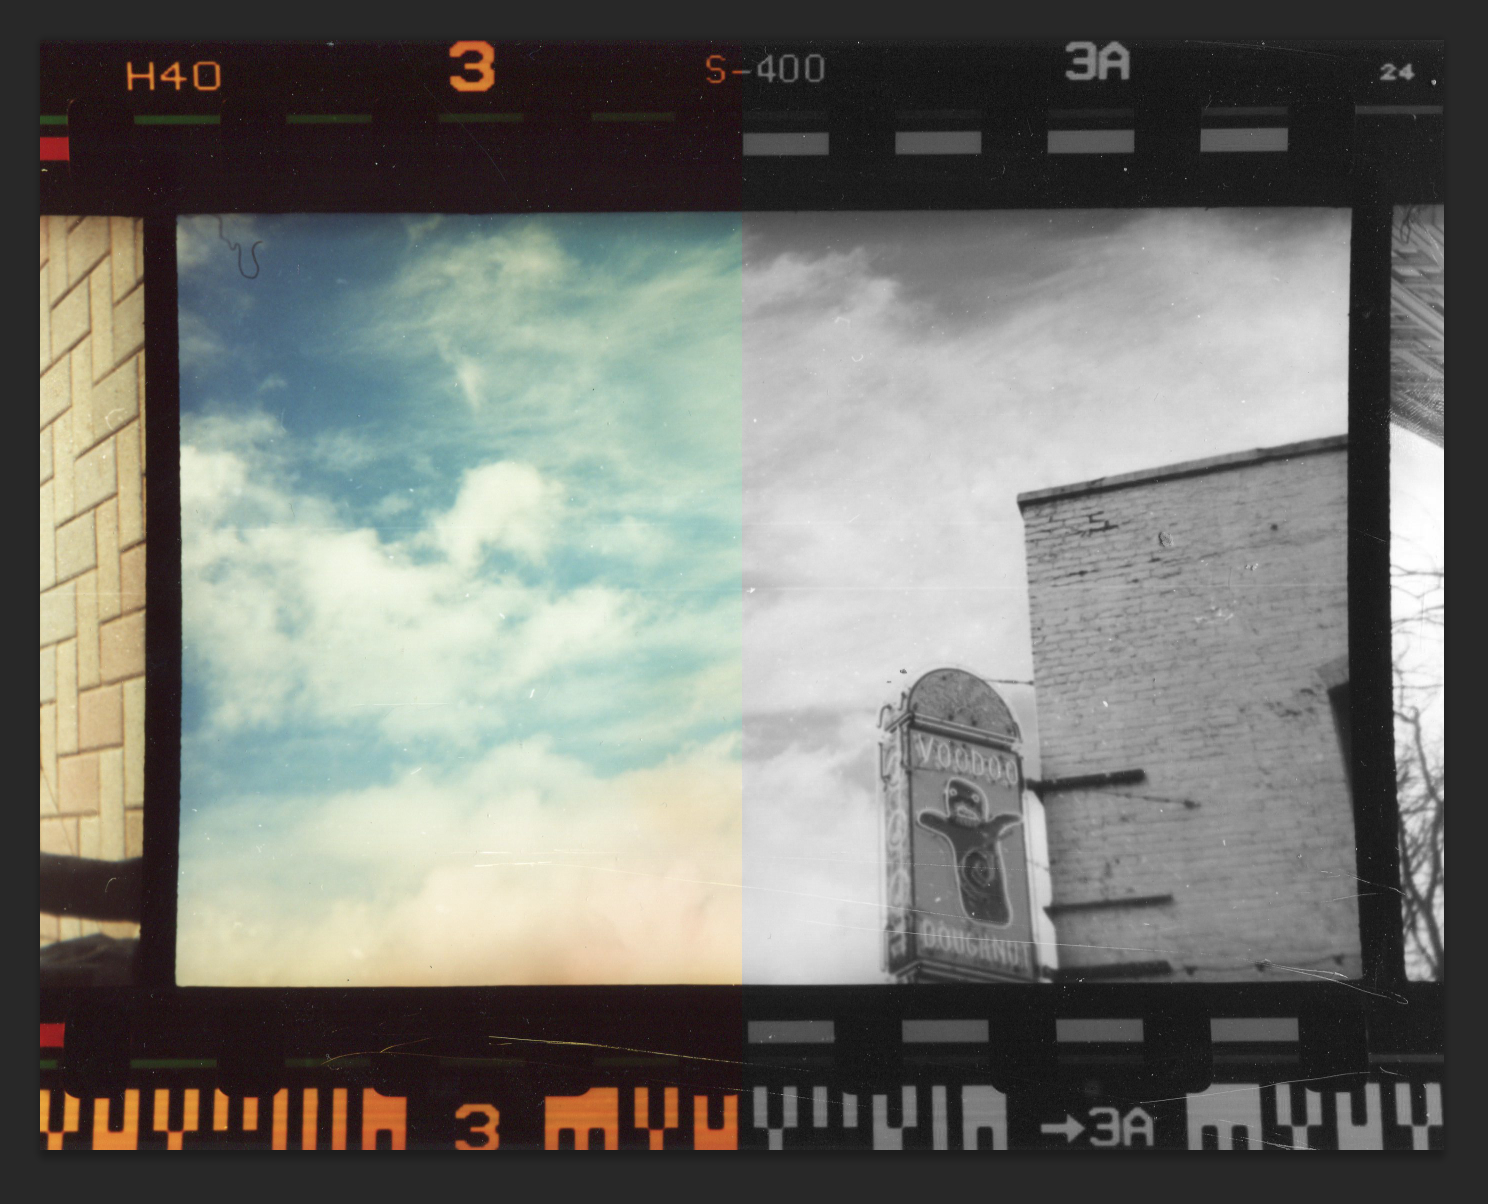
Here is the final result. I adjusted all of the colors too add more contrast the to sky and the sign. The benefit to this filter is you have complete control over how the colors are converted to black and white. In this example, I specifically made cyan darker so the sky would have a higher contrast.

Gradient Overlay:
Step 1:

Step 2:

Step 3:

Final:

Desaturation:
Step 1:
Step 2:

Final:

Black and White Filter:
Step 1:

Step 2:
Final:
